

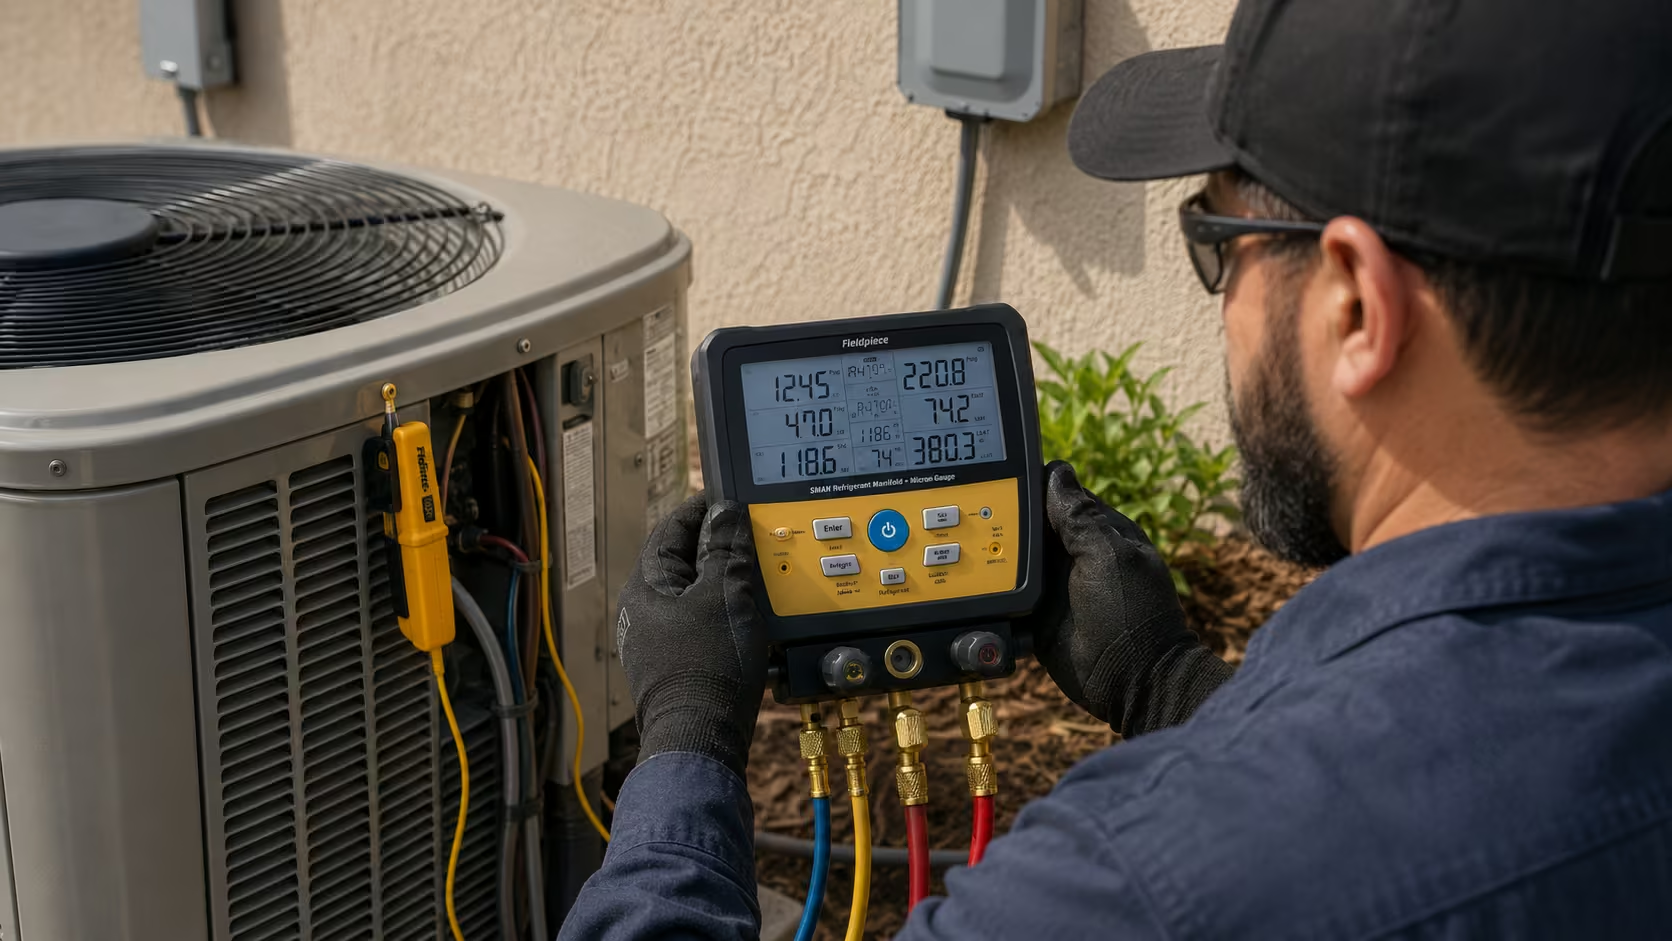
Guessing at refrigerant charge is one of the fastest ways to ruin a compressor. Add too little and the system loses capacity. Add too much and the compressor floods, wears out early, or fails outright. Many technicians still eyeball the charge by watching pressures alone, and that habit costs customers money in repeat service calls.
The fix is learning to calculate refrigerant charge weight using the superheat and subcooling methods, the two proven techniques that HVAC professionals rely on every day. This guide breaks both methods down step by step, so any technician can charge a system accurately and confidently on the very next job.
Why Accurate Refrigerant Charge Matters So Much
Refrigerant charge is not just about hitting a number on a gauge. It directly controls how efficiently a system moves heat, how hard the compressor has to work, and how long that compressor will last. A system that is even slightly off target loses cooling capacity and burns more electricity trying to compensate.
Overcharging pushes liquid refrigerant back toward the compressor, a condition technicians call flooding. Flooded compressors wear out fast because liquid refrigerant does not compress the way vapor does, and it washes lubricating oil off the internal components. Undercharging starves the system of refrigerant flow, causing poor heat transfer and, in severe cases, overheating the compressor.
The Two Main Charging Methods
Which method to use depends entirely on the metering device installed in the system. Systems with a fixed orifice or piston use the superheat method. Systems with a thermostatic expansion valve or electronic expansion valve use the subcooling method. Using the wrong method for the wrong metering device produces inaccurate results, so identifying the metering device is always the first step.
Understanding Superheat Before You Measure
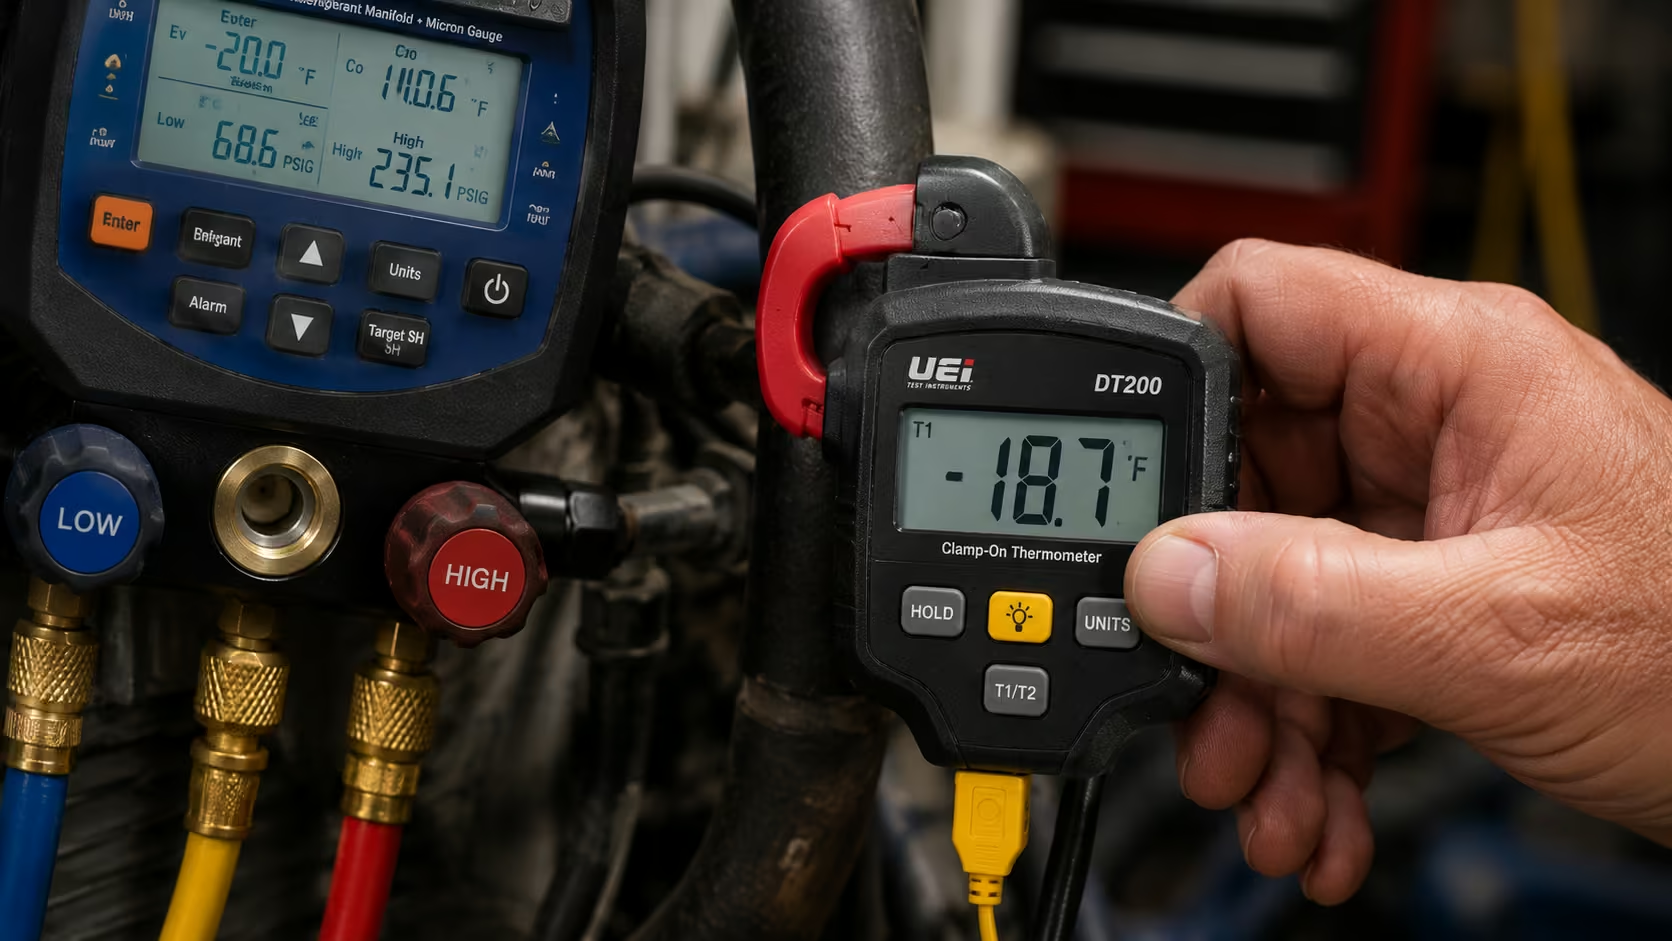
Superheat is the temperature increase of refrigerant vapor above its boiling point after it has fully evaporated. Refrigerant enters the evaporator as a liquid, absorbs heat, and turns to vapor at its saturation temperature. Any additional heat picked up after that point raises the vapor’s temperature above saturation, and that difference is the superheat reading.
Superheat tells a technician whether the right amount of refrigerant is flowing into the evaporator for the current load. Low superheat suggests too much refrigerant is entering the coil, while high superheat suggests too little.
How to Measure Suction Line Superheat
Start by attaching a gauge manifold to the suction service port on the outdoor unit, never the common port on a heat pump, since the reversing valve affects that reading. Record the suction pressure and convert it to saturation temperature using a pressure-temperature chart for the specific refrigerant. Then attach an insulated digital thermometer to the suction line near the same service valve and record the actual line temperature. Subtracting the saturation temperature from the measured line temperature gives the actual superheat.
Finding the Target Superheat Value
Target superheat is not a fixed number, it changes based on indoor wet bulb temperature and outdoor dry bulb temperature. Manufacturers publish charging charts or slide rules for this exact purpose, and many digital manifolds calculate target superheat automatically once both temperatures are entered. Comparing the actual superheat against this target tells the technician whether to add or recover refrigerant.
Calculating Charge with the Subcooling Method
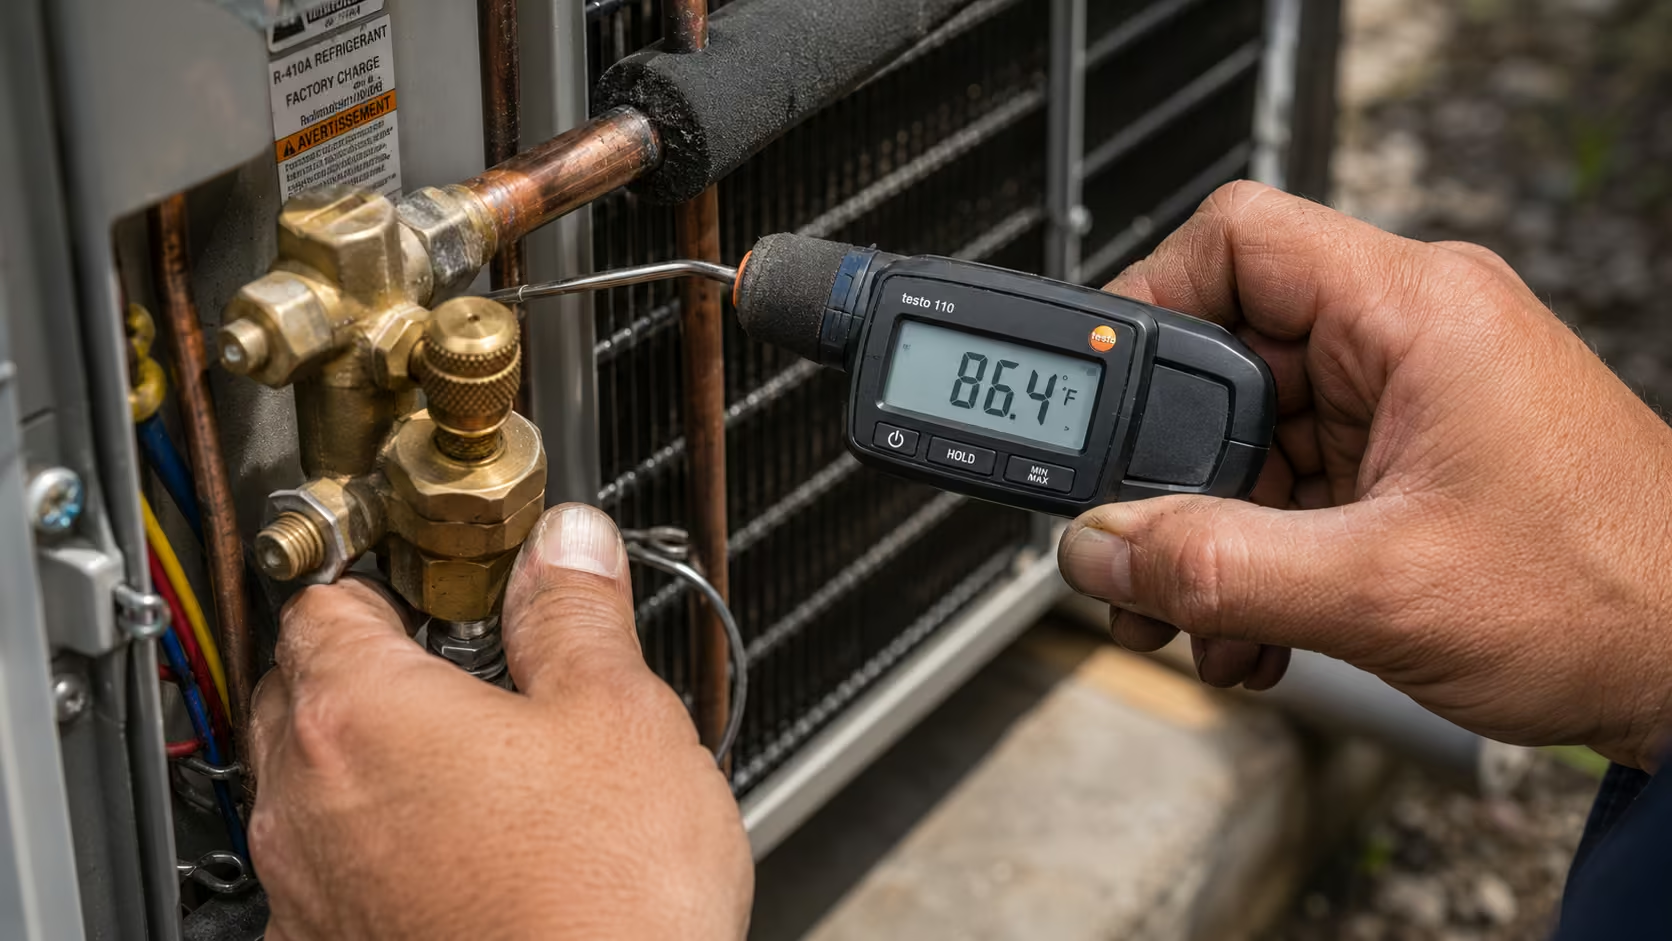
Subcooling applies to systems using a TXV or EXV metering device, which now make up most higher-efficiency residential and commercial equipment. Subcooling measures how many degrees the liquid refrigerant has cooled below its condensing saturation temperature before it reaches the metering device.
Proper subcooling matters because the expansion valve needs pure liquid refrigerant, with no vapor bubbles, to function correctly. Vapor bubbles in the liquid line reduce refrigerant flow and directly hurt system capacity and efficiency.
Step-by-Step Subcooling Measurement
Attach the gauge manifold to the liquid line service valve, making sure any quick-connect fitting used is a low-loss type to avoid pressure inaccuracies. Record the liquid line pressure and convert it to saturated condensing temperature using the pressure-temperature chart. Next, attach an insulated digital thermometer within about six inches of the service valve on the liquid line itself. Subtract the measured liquid line temperature from the saturated condensing temperature to get the actual subcooling value.
Comparing Actual Subcooling to Target Subcooling
The manufacturer specifies the target subcooling for each system, typically somewhere between 5 and 15 degrees Fahrenheit, though this varies by model. Add refrigerant to increase subcooling toward the target, or recover refrigerant to bring subcooling down if it reads too high. Always double check the suction superheat too, since a failing expansion valve can produce correct subcooling with dangerously low superheat.
The Weigh-In Method as a Third Option
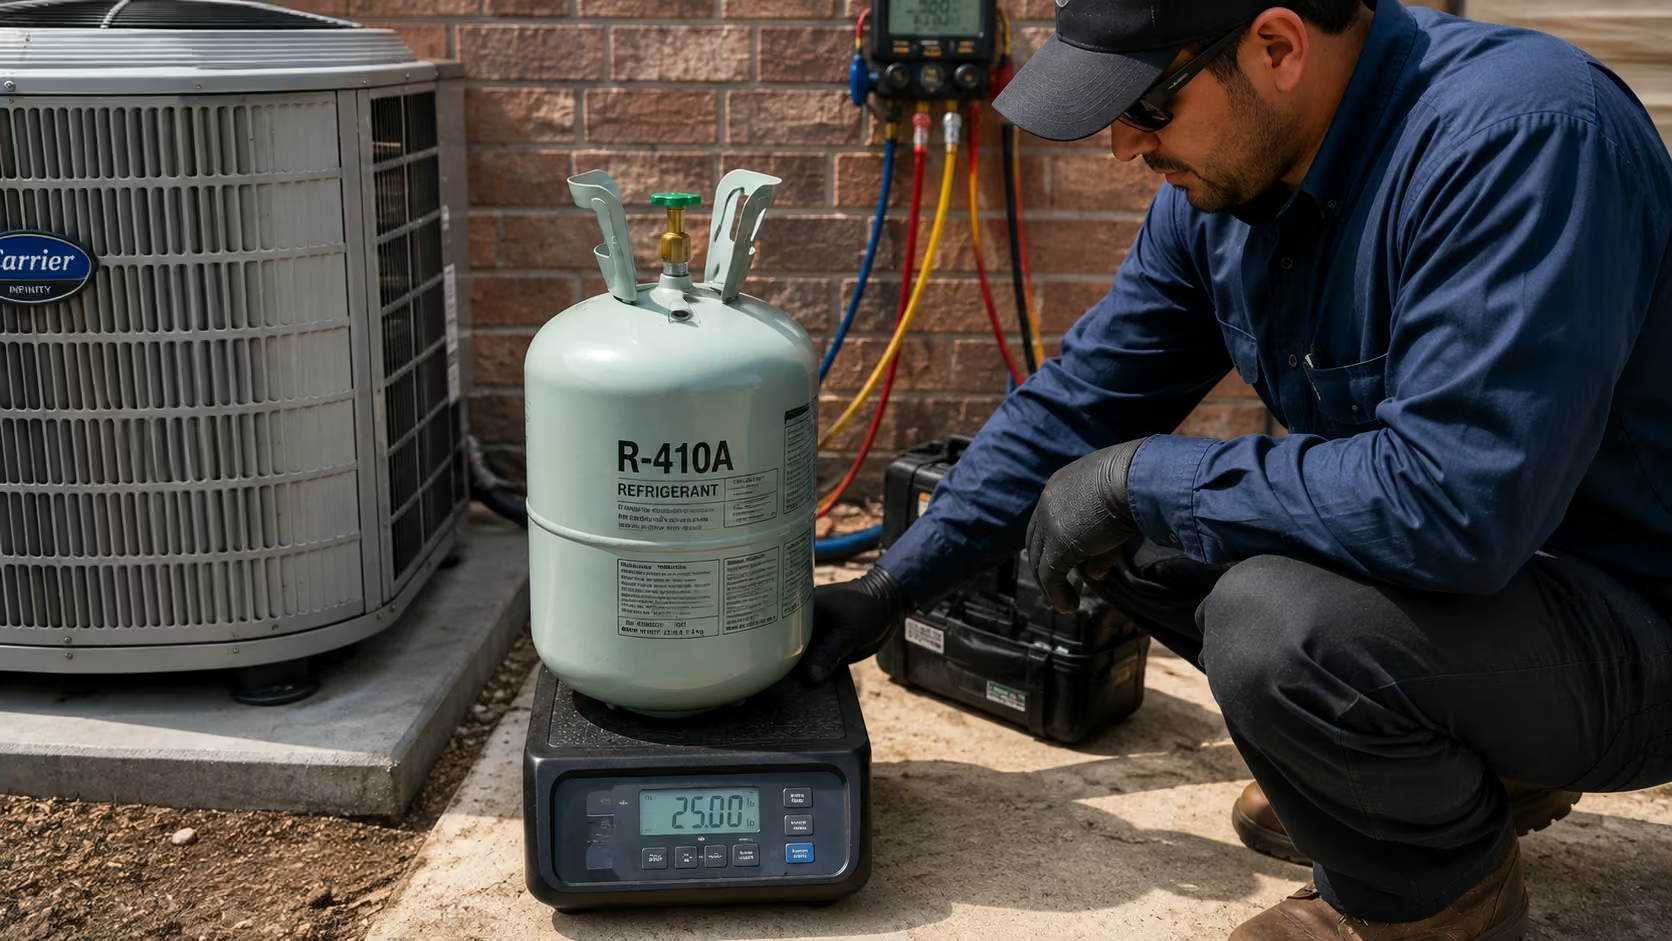
The weigh-in method calculates charge weight based on line set length and equipment specifications rather than live pressure and temperature readings. Outdoor units typically ship pre-charged for a standard line length, often 15 or 25 feet, and additional refrigerant must be added for any length beyond that specification.
This method is especially useful for variable refrigerant flow systems and mini-splits, which often cannot be verified using standard superheat or subcooling checks. It is also required when outdoor temperatures fall too low for the standard verification procedures to produce reliable readings.
When Weigh-In Charging Is Required
Weigh-in charging becomes necessary below about 55 degrees Fahrenheit outdoor temperature, since the standard charge verification method cannot achieve stable readings in cold conditions. Only the installing technician can perform a weigh-in charge, and many jurisdictions still require a follow-up verification using superheat or subcooling once temperatures allow it.
Cross-Checking Weigh-In Charges
Even after weighing in the correct charge based on line length, it remains good practice to verify the result using superheat or subcooling readings once conditions permit. This extra check confirms that airflow, metering device function, and refrigerant charge are all working together correctly, rather than relying on weight alone.
Common Mistakes That Throw Off Charge Calculations
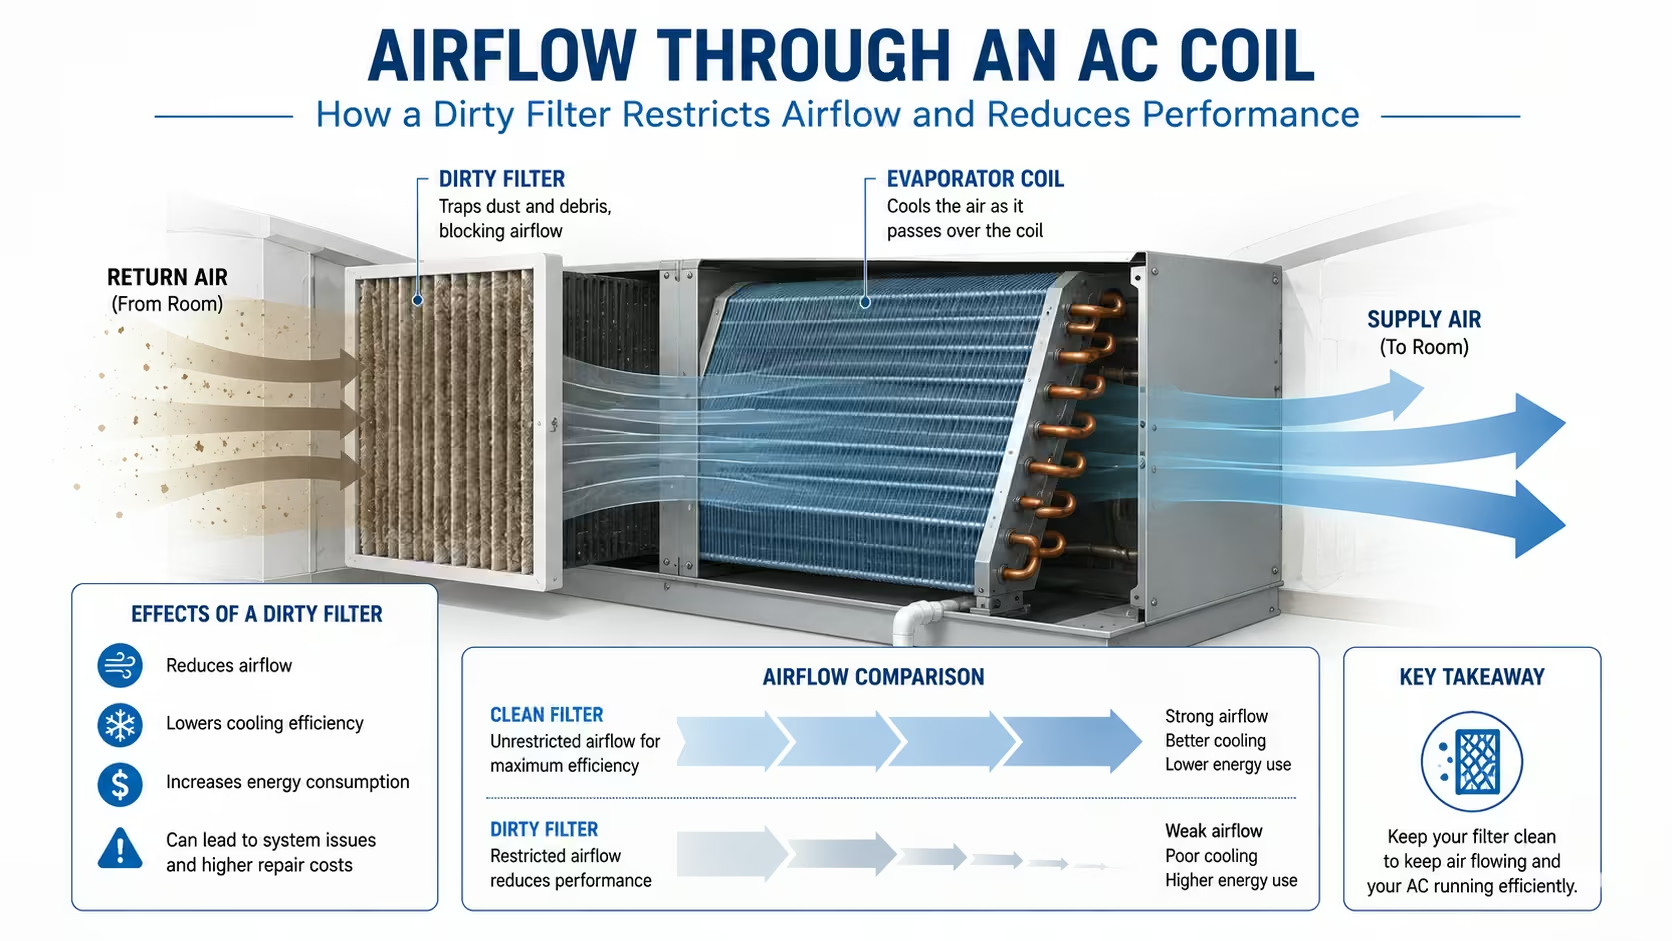
Many charging errors trace back to airflow problems rather than the refrigerant charge itself. If superheat or subcooling readings look off but the airflow across the coil is restricted, adding refrigerant will not fix the underlying issue and can actually make things worse. Always confirm proper airflow before adjusting the charge.
Skipping Airflow Verification
Minimum airflow generally needs to be around 350 cfm per ton for new systems and 300 cfm per ton for altered systems, according to widely used residential compliance standards. Dirty filters, undersized ductwork, or a failing blower motor can all suppress airflow enough to produce misleading superheat and subcooling numbers, so this check should never be skipped.
Ignoring Manufacturer-Specific Targets
Generic charging charts are a helpful starting point, but manufacturers often publish their own target superheat and subcooling values for specific models. Relying on a generic number instead of the manufacturer’s chart can lead to a charge that technically passes a general test but still underperforms for that particular unit. Technicians who also work with newer A2L refrigerants should pay close attention to manufacturer specifications, since A2L refrigerant handling often comes with tighter tolerances than older refrigerant families.
Frequently Asked Questions
Which method should I use, superheat or subcooling?
Use superheat for systems with a fixed orifice or piston metering device, and use subcooling for systems with a TXV or EXV.
What is a normal subcooling range?
Most systems target somewhere between 5 and 15 degrees Fahrenheit, but the exact figure always comes from the manufacturer’s specification.
Can I add refrigerant if the superheat is already low?
No, refrigerant should never be added when superheat is already at or below about 5 degrees Fahrenheit, since that risks overcharging the system.
Why does airflow affect my superheat and subcooling readings?
Low airflow across the coil changes how much heat the refrigerant absorbs or rejects, which throws off both readings even when the charge itself is correct.
What tools do I need to check refrigerant charge weight?
A calibrated gauge manifold, an accurate digital thermometer, and a pressure-temperature chart for the specific refrigerant are the minimum requirements.
Is the weigh-in method as accurate as superheat or subcooling?
It can be accurate if line length and equipment specifications are known precisely, but it does not confirm actual system performance the way live readings do.
Why is POE or PAG oil relevant to refrigerant charging?
Correct oil type keeps refrigerant flowing properly through the system, which supports accurate superheat and subcooling readings during charging.
Can weather conditions prevent me from charging a system?
Yes, outdoor temperatures below about 55 degrees Fahrenheit usually require the weigh-in method instead of standard superheat or subcooling verification.
Conclusion
Learning to calculate refrigerant charge weight correctly comes down to matching the right method to the right metering device and never skipping the airflow check. Superheat works for fixed orifice systems, subcooling works for TXV and EXV systems, and the weigh-in method fills the gap when weather or equipment type rules out live measurement.
Technicians who master these three approaches spend far less time on callbacks and deliver systems that run efficiently for years. For more hands-on guides covering refrigerant handling, recovery, and system diagnostics, browse the complete library of technical resources at Smart Refrigerants.